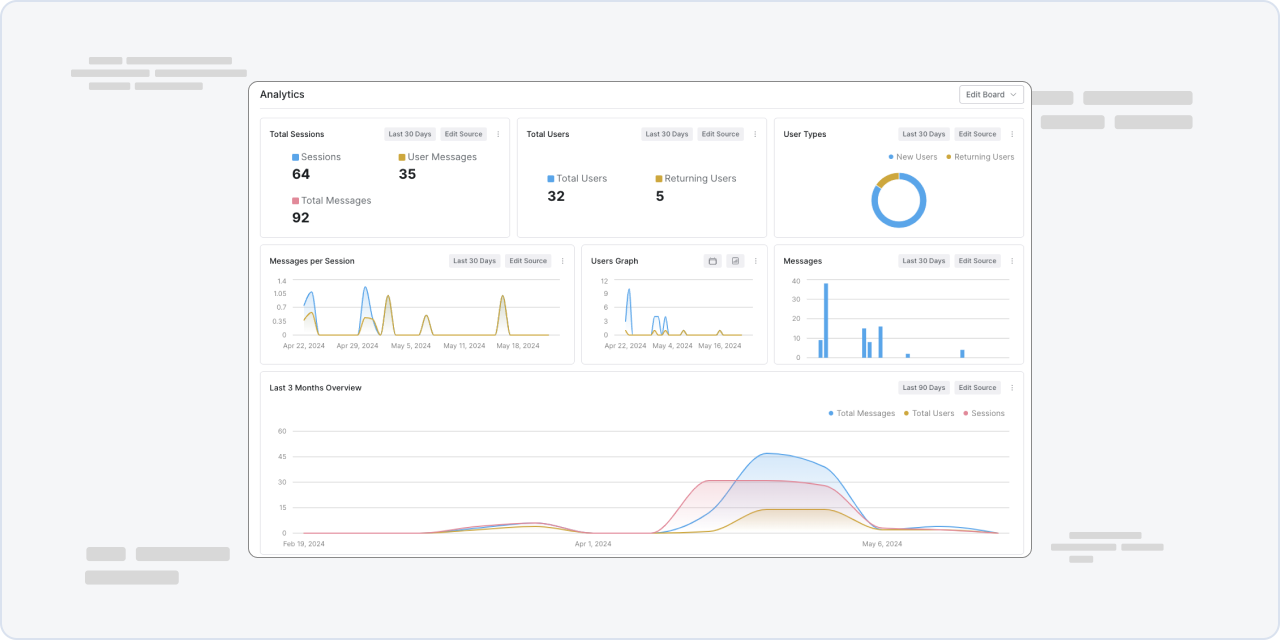
Chatbot Analytics


Using the Analytics tab in your bot's dashboard, you can visualize your bot's recent activity as well as monitor the health of your chatbot project.
Note
Some features in the Analytics tab, like selecting custom time periods or creating and saving additional custom displays, are only available to Team plan subscribers. Learn more (opens in a new tab)
Default Layout
By default, each bot in your Workspace comes with pre-configured analytics charts. These cover last month's users, new or returning users, how many messages users send per session, how many sessions your bot had over the last month, how many messages were sent to your bot over the last month, and a general overview of the previous 3 months.
Custom Boards
You can create custom boards, which visualize data related to your bot, by either editing an existing board from your default layout or creating a new chart altogether.
Time Period
When customizing a board, you can select from a list of pre-configured time periods to determine which time period's data gets visualized in your Analytics tab. Each of the boards in this tab can display information from different time periods.
Event Types
When choosing what data your Analytics tab will display, you can choose from a list of conversation-related events. These include:
- total, new, and returning users
- sessions
- bot, user, and total messages
- average messages sent by your bot per session
- average messages sent by users per session
- average number of sessions per user
- the custom botready, botpulished, state_expired, and conversationStarted events.
Chart Types
You can visualize data in the analytics tab with the following charts: area, donut, bar, pie, metric, spark bar, and spark area.
Analytics Agent
Note
The Analytics Agent is only available to Team Plan subscribers.
Once you've enabled the Analytics Agent from your bot's Agents menu, you can designate custom events that your bot will track. These events can be selected from the list of trackable events, or "Event Types."
Tracking custom events
Follow these steps to track custom events:
- Place the "Track Event" card found in the "Agents" section of the card tray into a node
- Using the details panel, give the event a descriptive name that will allow you to keep track of them later. For example, you might track "Successful resolution" or "Unanswered question."
Once you've successfully created a custom event, your bot will track each event as the card is executed in a given node. For example, your bot can track how many times a conversation successfully reaches a specific node, or how often users flow through a certain node.
Note
After creating a custom event, it can take up to an hour before the data is available to be visualized in your Analytics tab.